
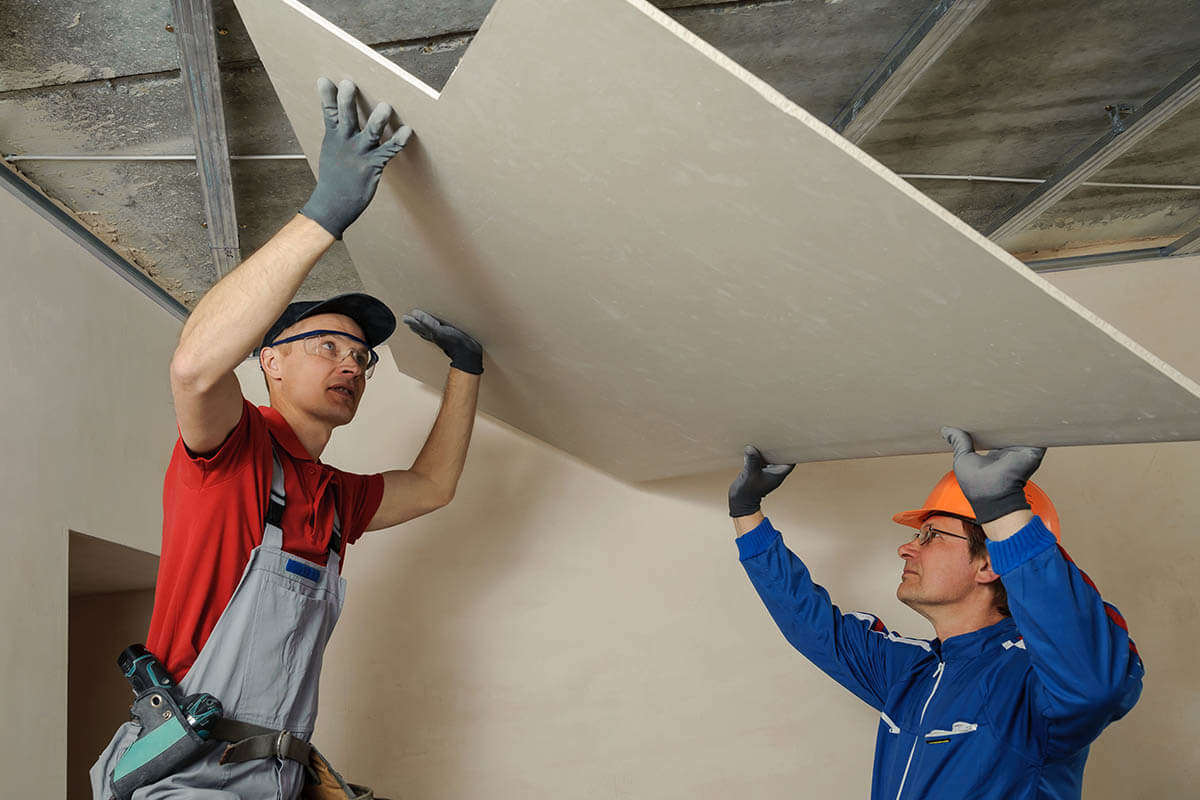
Do you have holes in your wall from previous electrical or plumbing work? Maybe a past repair was not finished, or kids were playing too rough. Our team provides drywall repair services in Los Angeles and surrounding areas.
However, damaged drywall may be easier to repair than you think. From patching a small hole to fixing a large section, DIY drywall repair can reduce costs. Learn how to do flawless repairs yourself with the following instructions.
Average drywall repair costs in Los Angeles, California
According to HomeAdvisor, the estimated cost to hire a drywall contractor in Los Angeles to patch drywall damage ranges from $293 to $876, with an average of around $600.
Generally, if a hole can be filled or covered with a patch, the drywall repair rate is a flat fee. Labor is the most expensive part of drywall repairs in Los Angeles, ranging from $60 – $90/hr. Hiring a contractor could cost up to $75 per square foot, compared to DIY drywall repair at $45 per square foot.
Everything You Need For DIY Drywall Repairs
- Drywall
- Drywall tape
- Drywall screws
- Joint compound/drywall mud
- Drywall saw
- Screwdriver/drill
- Utility knife
- Drywall taping knife
- Dust mask
- Drywall sander or sandpaper
10 Do’s and Don’ts To Drywall Repair
For small damages, it can be easier to fill the hole or apply the drywall patch yourself. The following are the most common things to remember to repair most drywall damage.
- Do have the joint compound needed
Having the correct amount of drywall joint compound is important for the best results. Also known as drywall mud, you can purchase it in small pint-size containers to large 5-gallon buckets. Consider how much it will take to fill the damaged area.
- Do keep the patch neat
Use a joint compound knife to spread the joint compound over the hole or the patch using light, even pressure. Fill the holes to be flush with the surrounding area and ensures patches adhere against the wall.
- Do remember less is more
When using a 4-inch drywall knife, spread joint compound over the area, so it covers just enough the paper tape will adhere to the wall. Lightly run the taping knife over the tape to set it, but not hard enough to push all the joint compound out.
- Do repair large holes using a patch
Small damages such as nail holes or cracks only need compound over the hole. However, for larger holes and damage, you will need to cut the drywall slightly, so the damaged area is removed.
The patch should be cut just longer than the damaged area. This gives it plenty of room to adhere to the wall.
- Do wear protective equipment
Many people overlook this, but it is recommended to wear a dust mask. You never know what is lurking in the walls. Also, when you lightly sand the area after you allow the compound to dry.
- Do check for electrical wires
You do not want to start cutting drywall without knowing where the wires are located. Not only could cutting into a live wire be potentially fatal, but at the very least, it would be an expensive fix. If the damaged area is big enough, shine a flashlight into the hole and look around.
If you have to cut, use a drywall saw and make horizontal cuts no deeper than 1-inch. If the damaged area is near an outlet or light switch, assume there are wires nearby but don’t bet your life that a contractor or renovator followed every plumbing or electrical code 100%. It is common to find hidden pipes or wires where they shouldn’t be.
- Do use drywall tape
A common mistake with DIY drywall repair is not using drywall tape to the seams. The purpose of drywall tape is to help hold the joint compound together for the best results. Knowing the difference between drywall tape and mesh tape can help too. Mesh tape is often easier for DIY to apply, but it will not expand like drywall tape and can cause future cracking. That is why most drywall contractors prefer drywall tape for most, if not all, drywall repairs.
- Do locate the wall studs
If you are going to be cutting out the damaged section of drywall or installing furring strips as part of the drywall repair, it is best to locate the wall studs before starting. Your plumbing and electrical run through the studs. By identifying the wall stud location before cutting for the new piece, you can avoid accidentally cutting into a pipe or wire.
Identifying the wall stud is easier if you’re fixing a nail pop. Simply use a level and place it vertically along the nail(s) to know where the stud is. You can also use a stud finder when the screw heads are not visible.
- Don’t forget the popped nail heads
Over time, framing will move. This can cause nails to push through enough to be noticed above the drywall. This is known as a nail pop. With a hammer and a small tool, you could pop them back in. However, eventually, it will show up again.
To permanently repair a nail pop, simply tap it back in and then drive in the drywall screw 1-inch above and below the nail. This holds the drywall firmly to the wall stud so it will not shift and cause the nail to pop in the future.
Drywall spackle can be used to easily and quickly cover nail pops and screw holes.
- Don’t forget to sand the area
After you fix the damaged drywall, don’t forget to lightly sand the area. Without this step, most drywall repairs will be noticeable. Use fine grit (120) sandpaper, then you can apply a second layer of the joint compound 2-inches beyond the first layer. Allow it to dry and then sand again.
When Should You Use A Drywall Repair Kit?
For holes that are larger than 1 to 3 inches at the widest point, drywall repair kits can be used. These types of kits include drywall patch screens that work well for DIY applications. For holes that are 3-inches to 5-inches, look for drywall repair kits that are designed for larger holes, or you can apply a larger screen and spread joint compound with a drywall knife.
Drywall Repair Vs. Replace
If the damage to your drywall is severe, replacement may be required. Generally, holes under 5-inches can be patched using a drywall patch kit.
If the damaged area is over 5-inches, a drywall repair kit designed specifically for larger holes can be used or spread joint compound with a joint knife.
For more severe damage, perhaps there was a leak that caused major water damage. Replacing the entire wall may provide the best results.
How to Patch Large Hole Drywall Damage
Step 1: First thing is to draw a square outline around the damaged area. Try to align the center with the wall stud.
Step 2: Using a drywall saw, cut three sides, clearing the debris away as you cut to prevent pieces from falling into the wall.
Step 3: Using a utility knife, score the remaining side and remove the drywall, leaving a nice square section to work with.
Step 4: Cut a piece of 1×4 wood and cut it 6 to 8-inches longer than the square opening. Apply construction adhesive on the ends.
Step 5: Place the 1×4 into the hole with a glued surface facing forward, so it adheres to the drywall. Position the board, so it extends in the opening 1.5-inches and use clamps to secure it.
Step 6: Once dried, cut the drywall patch so it fits loosely into the hole. Apply more adhesive to the 1×4 surface and press the drywall patch into the hole, so it adheres to the 1×4 and the wall stud. Secure with 1 ¼-inch drywall screws.
Step 7: Using a slightly wet sponge, carefully wipe the drywall patch and wall to clean any excess construction adhesive.
Step 8: Use self-sticking mesh tape and place it over the seams. For maximum strength, overlap the corners and center the tape over the seam. Press firmly to ensure a good hold.
Step 9: Using a 4-inch drywall knife, spread the joint compound over the mesh tape and allow the compound to dry overnight.
Step 10: Slightly sand the area to a smooth finish.
Step 11: Using an 8-inch drywall knife, skim coat the area with a joint compound. Apply several layers, making each one slightly larger than the last allowing it to dry between coats.
Step 12: Use 220 grit sandpaper for the final sanding. Add primer and two coats of paint. You may need to paint the entire wall for the best results.
Know The Difference Between Joint Compound
There are two commonly known types of premixed drywall compound (all-purpose and lightweight). Know the difference between purchasing the proper compound:
- Lightweight drywall compound is one-third the weight of the all-purpose joint compound.
- The lightweight joint compound will dry faster.
- Lightweight will sand easier and smoother.
- All-purpose joint compound dries harder.
- All-purpose costs less than lightweight joint compound.
Both types of drywall joint compound will spread easily with an estimated 9-month shelf life at room temperature. For small drywall repairs like a crack, buy a pint of compound (spackle), fill the crack with compound, sand, and done.
If you have damaged drywall in multiple rooms, buy a 5-gallon bucket of drywall joint compound.
Dry-mix joint compound is another option, which comes in a powder form and has to be mixed with water to create the correct consistency before use. Although this is the cheapest option, premixed joint compound is easier and faster to apply in most DIY applications.
The process of DIY drywall repair is fairly straightforward. Prepare the area, patch, repair, or replace the damaged area, sand and paint. Remember to check for live wires or pipes that could be running behind the wall. If you mess up, cut out the section and try again, it’s really that simple.
If you’re still not comfortable with attempting it yourself, you can hire a professional drywall repair handyman.
Want to learn how to be a DIY handyman?
Sign Up For Our Newsletter!